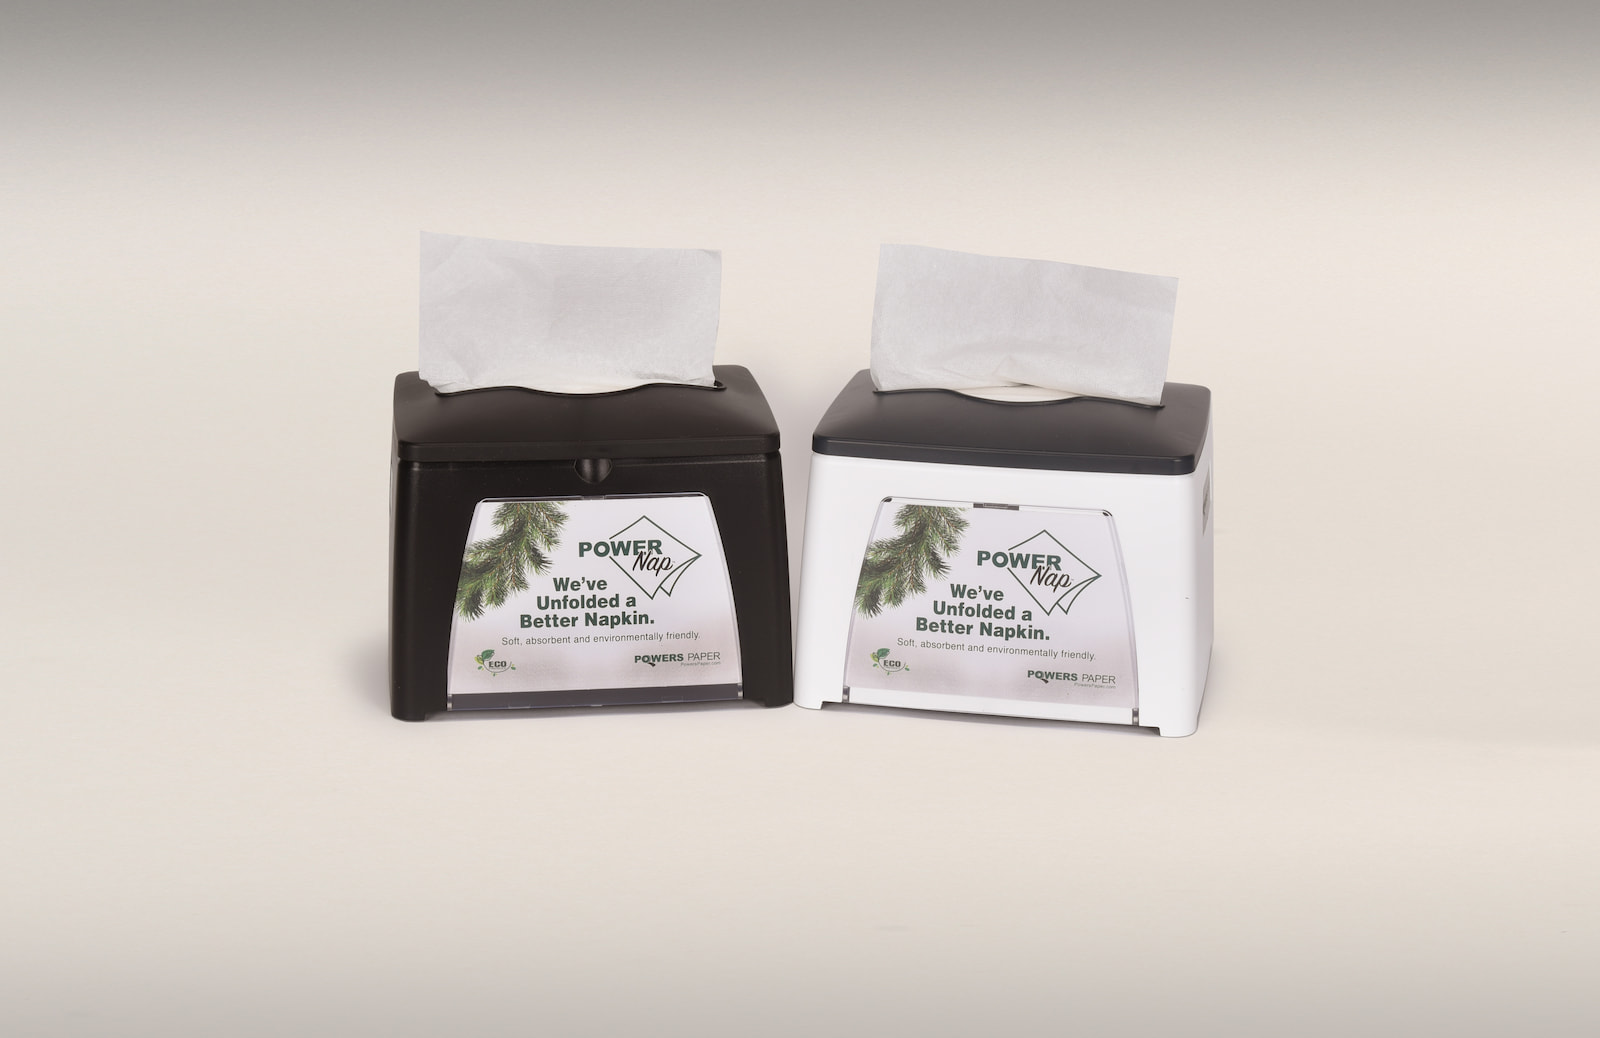
PowerNap® Ad Designer Template Instructions

With this ad designer template, you can easily create custom inserts for your PowerNap dispensers. Feature your menu, food and drink specials, upcoming entertainment and more.
This template is designed to be used with Avery® Template #8386 which has two pre-perforated 4’’x6” cards per page. (Alternately, you may print on regular lightweight cardstock—or even paper—but you will need to cut out each rectangular card.)
When looking at the template design on the right side of your screen, note the dark pink triangles on the right and left. These areas will NOT be visible when the card is inserted in the PowerNap dispenser, so make certain ALL important information is within the dashed lines.
-
Begin by opening the Background menu. Decide if you want a solid background color or if you wish to use one of our existing backgrounds. If you wish to use a solid background color slide the gauge on the upper bar to choose your preferred color family (i.e., greens or reds or yellows), then move the white circle within the box to choose the exact hue you desire. (You may also use the up and down arrows to choose a format and enter your brand’s exact color specifications if you know them.)
Instead of a solid color, you may also choose to use one of our nine ready-made backgrounds. -
Next open the Text menu. You may create as many text areas (i.e., headline, body copy or a closing message) as you wish.
Click the “Add new text” bar for each new area of text you wish to add to your design.
Once you have created a text box you may click on it to move it around, crop the size or make any changes to the message, font, alignment or color using our menus. -
With the Images menu, you may upload your own image (usually only relevant if you chose a solid color background rather than a ready-made background). Supported image formats are JPG and PNG and the recommended image size is 600px x 400px. Simply browse the images on your computer and upload your own image. You may click on it to re-size the image (they often come in very large) or move it around your design.
-
With the Shapes menu you can easily add a circle, square or a custom shape (maybe a star or a price burst) to your design. You can also choose the color of the background within the shape and then add a layer of text—such as a price, date of the event or other important information—inside the shape.
-
If you are having trouble accessing an image or text box by simply clicking on it, the grey Layers menu, found below your design, can be used to bring images or text to the front where you can easily click on it. You can also drag and drop the individual layers and click the green Release Object button to “let go” of an image or text box.
-
IMPORTANT: When you are satisfied with your design, make sure to hit the green Save Design button. It will save as a PNG file that is set up to print—two per page—on Avery Template #8386 sheets.